
More hand-made projects - as promised!
Hand-made project idea #3 Make your self a bag!
This is ideal for phones and purses, or if you make it out of sturdy stuff and HUUUGEEE, it can be used for school/laptop/satchel type bags too!
You need two different pieces of fabric - a lighter one for the bag and a darker one for the flap. also some string or really long strips of fabric would come in handy for the strap, and a sewing machine would be best (hand sewing is soooo painful!)
.
You need two different pieces of fabric - a lighter one for the bag and a darker one for the flap. also some string or really long strips of fabric would come in handy for the strap, and a sewing machine would be best (hand sewing is soooo painful!)
.
 |
| Grab a sheet of A4 paper (or 8.5 x 11in) - this is going to be your base for the pattern.First, cut two pieces of the darker fabric A4 sized. |
 |
| Hem the shorter edge - turn the top over twice... |
 |
| ...And stitch |
 |
| Do this for both pieces. |
 |
| Now take your darker piece and cut it A4 sized. |
 |
| Divide it roughly into thirds, it doesn't have to be exact. |
 |
| And remove one third. |
 |
| Do this for both pieces. You could do one, and then just trace it to cut the second piece, this ensures they are the same size. |
 |
| Stitch them together, right sides together. Only stitch three sides, leaving the side that will attach to the bag open. |
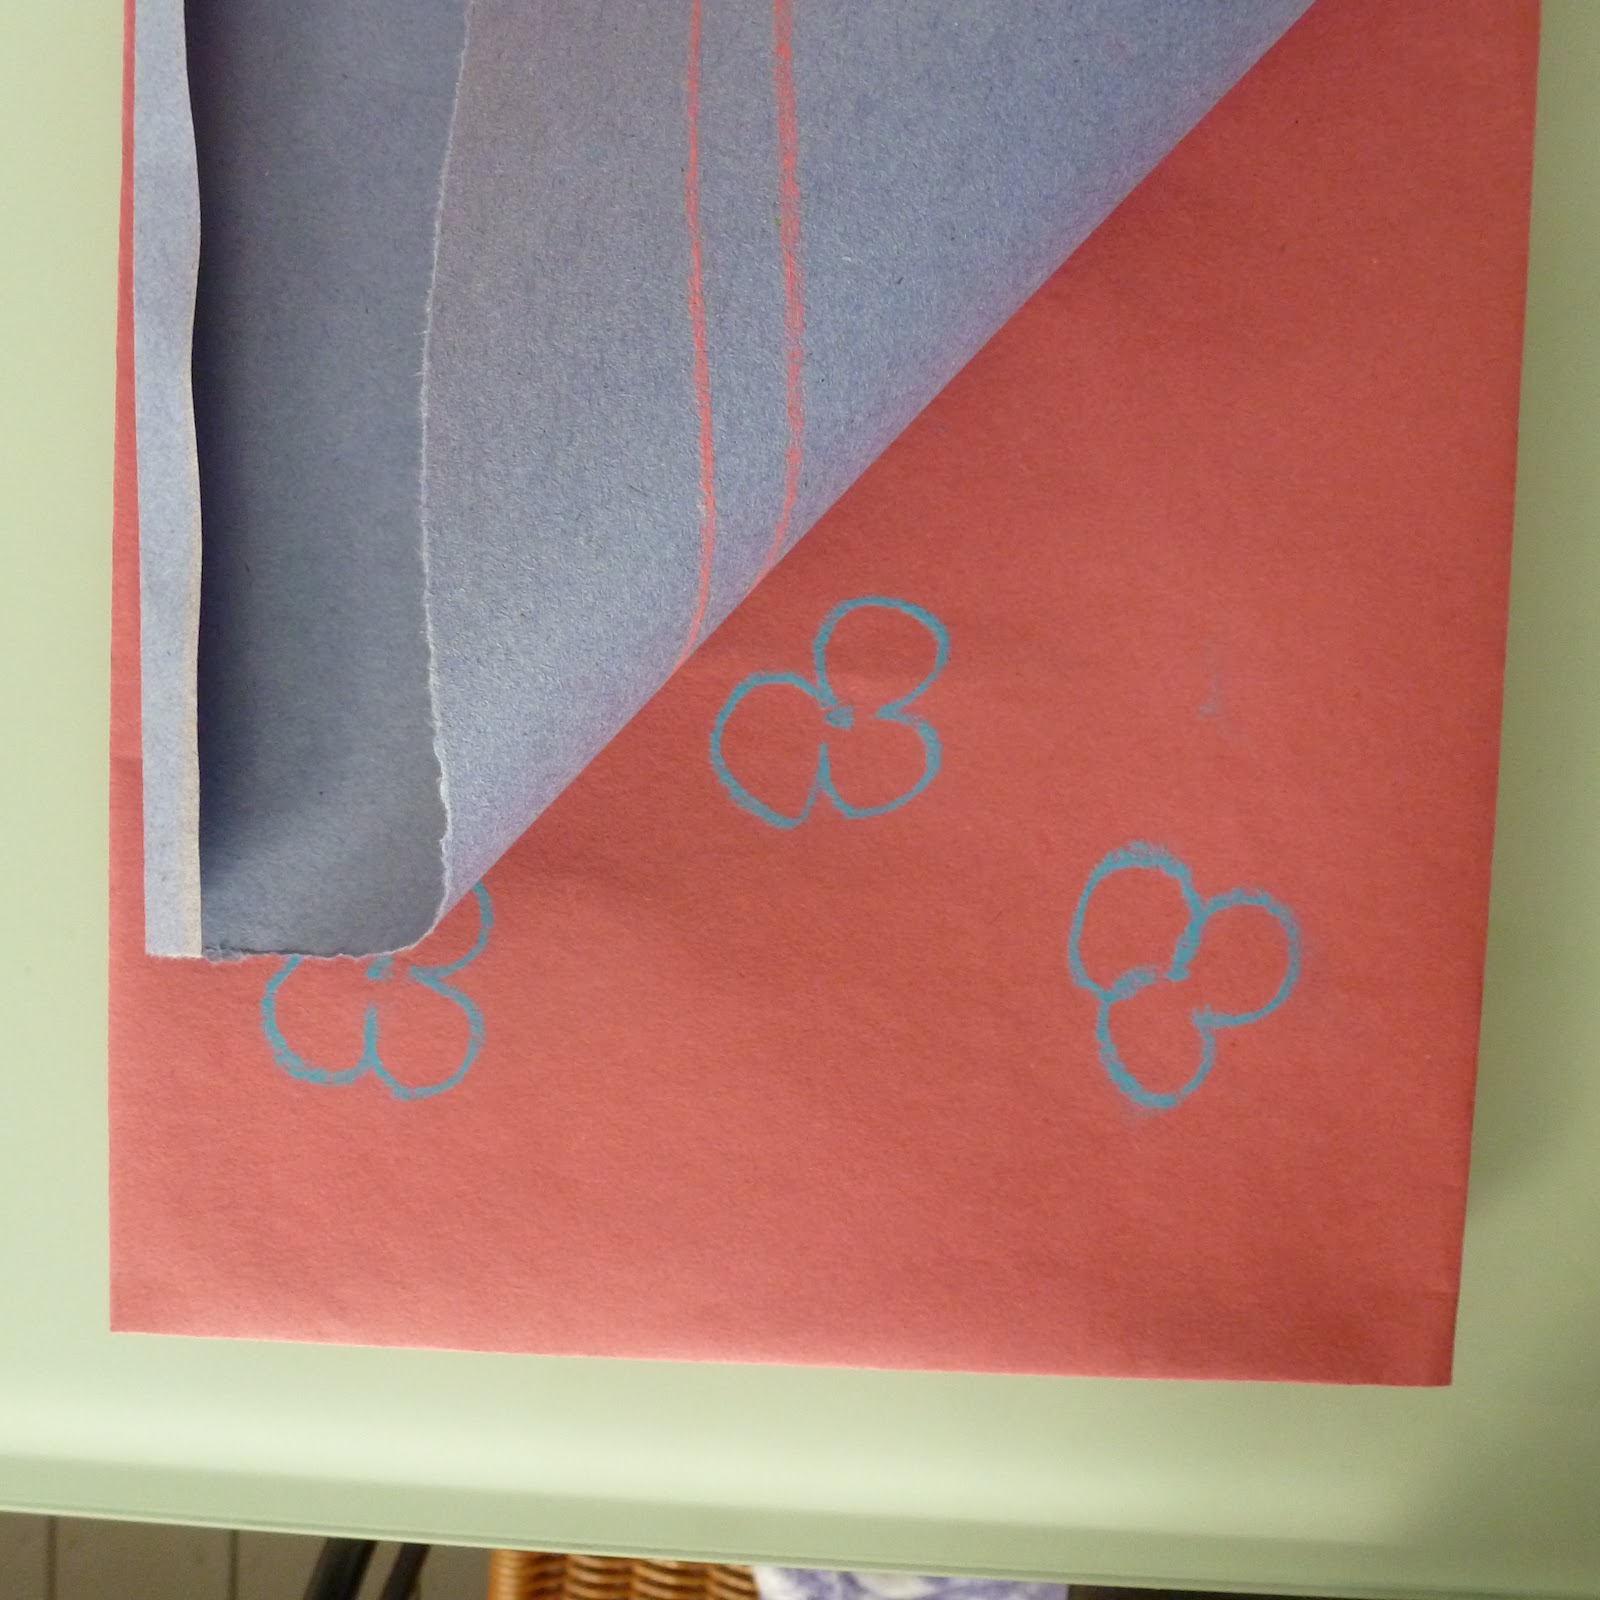 |
| Turn the flap inside out and fold the open end inwards by about a cm. Place that end near the top of the back piece for the main bag, right sides together. |
 |
| stitch a single line across. |
 |
| It should look something like this when you fold it up, with an invisible line of stitching. |
 |
| Place them right sides together - this is the patterned side, the side you want to see. |
 |
| Stitch together (preferably on a machine). Make sure that you dont catch the flap in your line of stitching. For less of a satchel look, you could round off the corners - but make sure they are equal! |
 |
| Turn inside out,it should look something like this with the flap still down the back. |
 |
| Flip the flap over the top, and it should look like this! |
 |
| Grab some string, ribbon, or other long, bendy thing for the strap. |
 |
| I would recommend hand sewing both ends into the inside of the bag, but if it's really thick and strong you could use a machine. |
 |
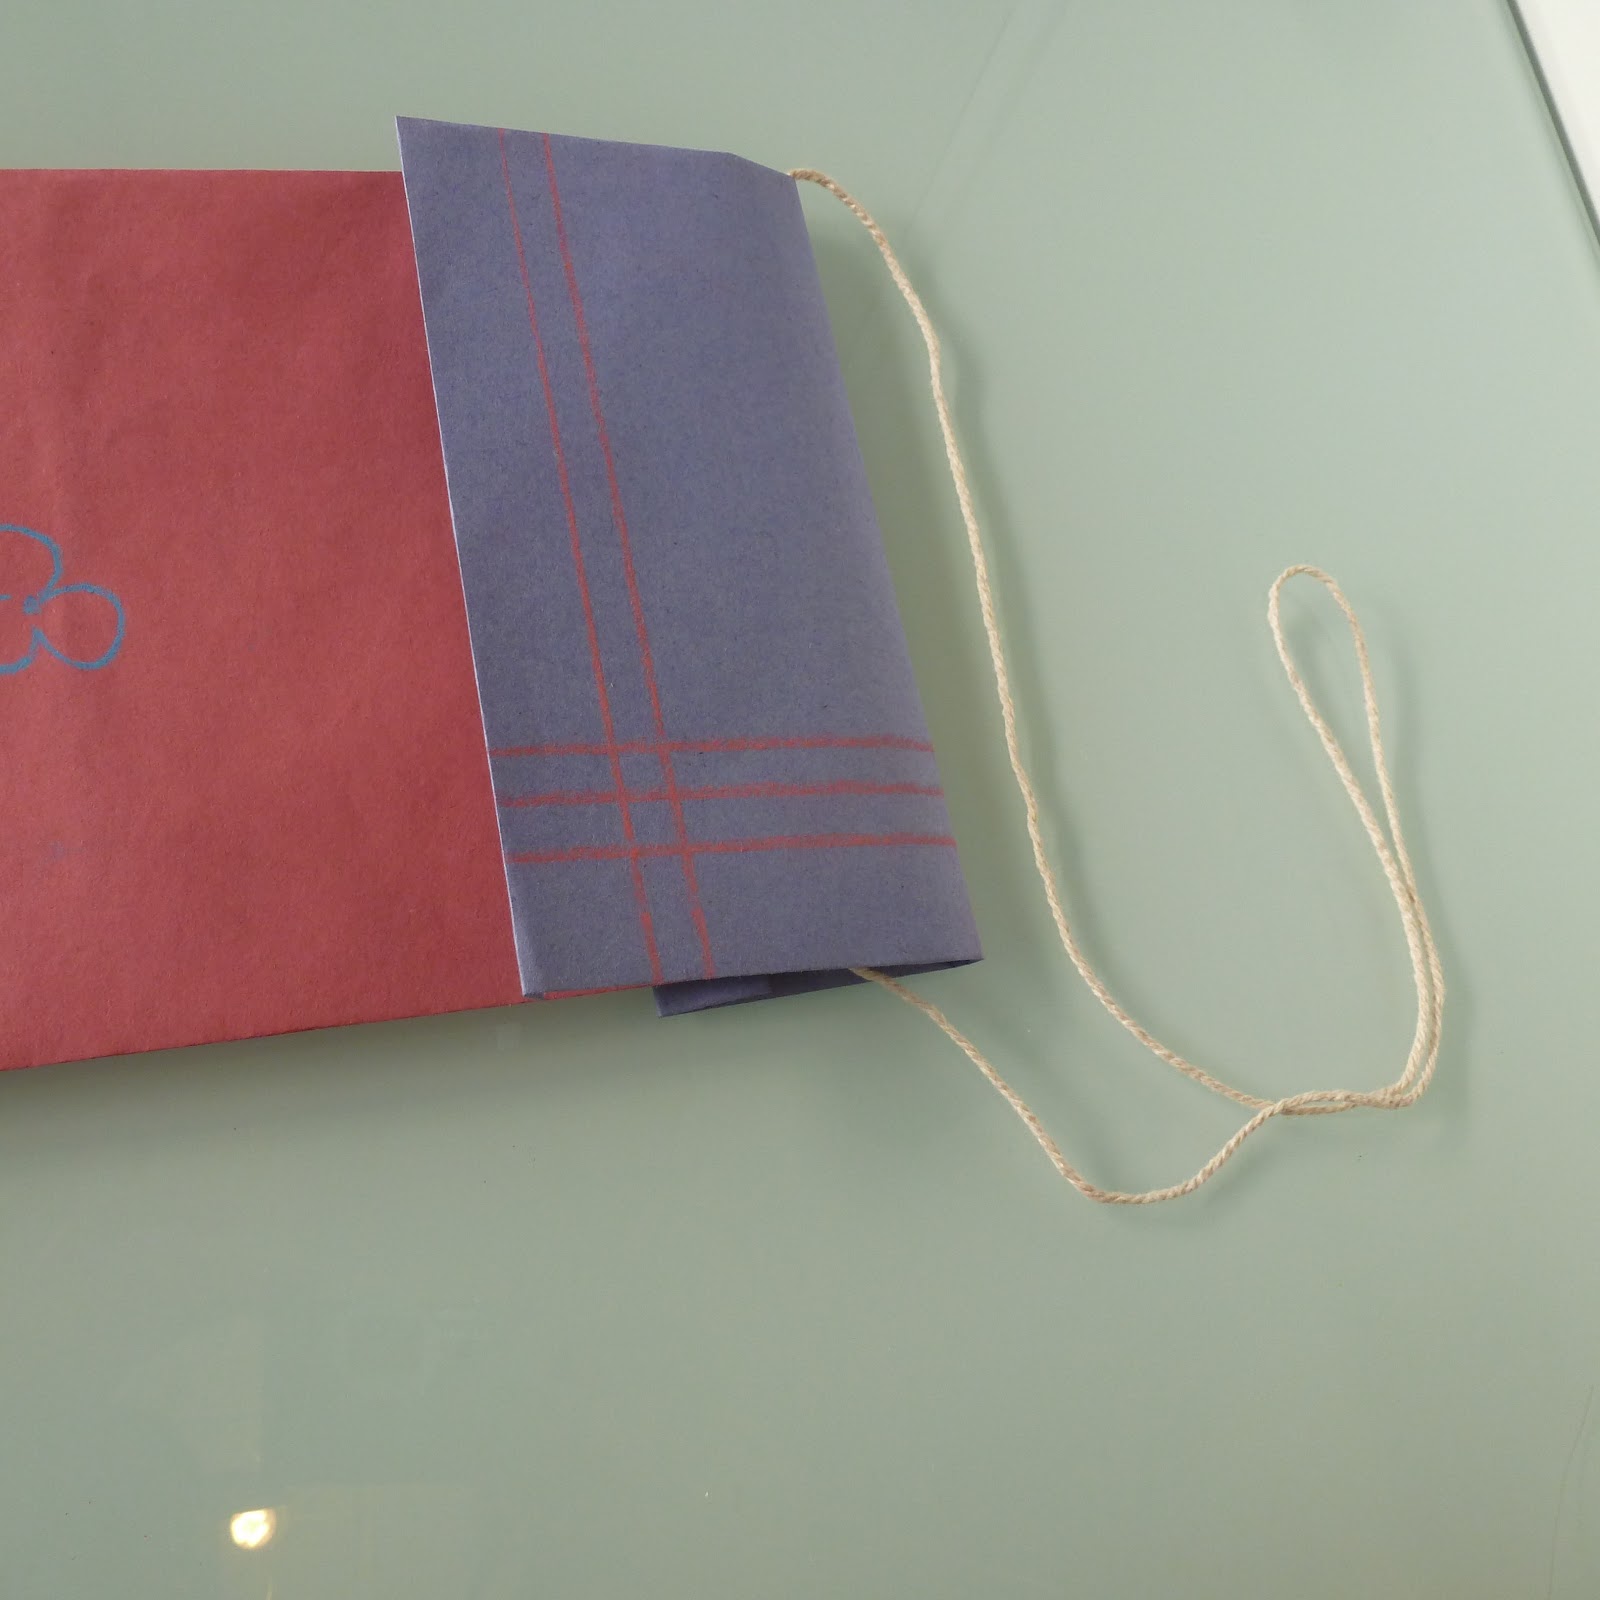
| Finished! It should look something like this, |
These won't last too long but they're kinda cool.
 |
| All you need is some paper, some scissors, and a stapler (preferably full of staples.) |
 |
| Cut some strips of paper that are roughly the size of your finger - about a centimetre wide and 10 centimetres long. |
 |
| Cut quite a few of these - I ended up using about ten. |
 |
| Make a loop - like a circle, but keep the ends together and twist to e l o n g a t e |
 |
| Do this with two and have the ends join. |
 |
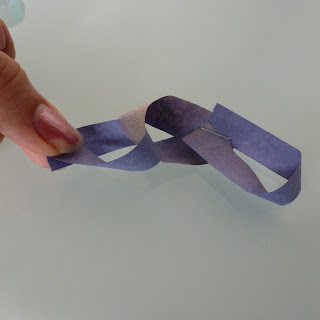
| Staple them together (This can be a leetle finicky...) |
 |
| Should look something like this. |
 |
| Thread another strip of paper through one of the loops, and make a third loop. |
 |
| And complete it with another loop... |
 |
| And staple. You get the idea. |
 |
| After the chain is long enough to fit around your wrist, make your final loop. Do this by making loops like before, but make sure that both loops connect to others. |
 |
| You have a complete circle! |
 |
| You can add charms as well to jazz it up a bit - simply cut out shapes from some coloured card and attach to a strip of paper which you can then loop around the bracelet. |
 |
| Ta-da! Have one charm or add ten - it's up to you! One groovy paper chain bracelet, handmade and free! |
*all images here are my own and the rights remain with me.


